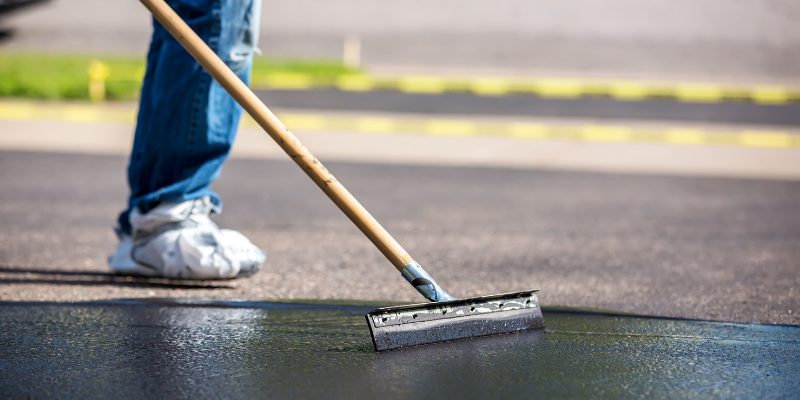
Using sealer on your asphalt surface can help to protect your pavement from UV rays and chemical spills that can be damaging, as well as reduce the rate of water penetration. As we’ve discussed previously, water is the most harmful element to your pavement. Additionally, sealing gives your pavement a fresh, clean look —almost like new pavement. Sealer will protect your investment and improve curb appeal, whether you are using a squeegee to apply driveway sealer or having asphalt sealer sprayed on a large commercial parking lot. Preparing the asphalt before you start applying sealcoat is important.
We recommend the following steps before applying asphalt sealer:
- The first thing you will need to complete before sealcoating your blacktop is cleanup. This is very important because it allows for a proper inspection to be done.
- The inspection of your asphalt’s current condition is one of the most important steps in asphalt sealcoat preparation. Any cracks, potholes, or pavement defects will need to be repaired prior to sealing. It is important to understand that sealing is not a substitute for crack filling or patching.
 After identifying the problem areas of your pavement, now is the time complete the repairs. All cracks should be filled, all potholes should be patched, and all severely damaged areas should be replaced. A clear indication that cracks or pavement deficits are damaged beyond repair (like crack filler or patching) is if weeds or vegetation have begun to grow through the cracks. This likely means the base is compromised, and a compromised base can be detrimental to your asphalt.
- After all repairs are complete, and before applying sealer, the blacktop should be cleaned one last time. This will remove any sand, dirt, or debris left behind that can compromise the quality of the sealcoat application.
- Making sure the pavement is completely dry prior to applying the sealer is extremely important. The sealcoat layer cannot be applied correctly if the pavement has any moisture in it. If rain is expected, sealcoating cannot be completed. If you have sprinklers on your property or near your parking lot, you will need to make sure they are turned off at least 24 hours before your scheduled sealcoat application, and for 24 hours after the job is complete.
 If your lot is in direct sunlight, it will often dry very quickly (as quick as 5-10 minutes). Once the sealcoat layer is applied, you will need to restripe your parking lot lines. Learn more about parking lot striping in our blog; Parking Lot Striping: It’s More Than Just Straight Lines.


Sealcoating adds a rich, dark color to your lot that enhances your property’s curb appeal, while also adding an additional protective layer. It is important that all repairs are done prior to sealing, and that you do not use sealer as a crack filler substitute. Crack filling along with sealcoating offer the protection that sealcoating alone cannot provide. Are you ready to prepare your lot for a new layer of sealer? Contact EastCoat Pavement for your free consultation!